Sunday, January 29, 2012

Gingersnaps


Ok, I might be scraping the bottom of the barrel here a little bit.  But the important thing to remember here is that not only am I keeping my promise that I will write at least once a week, but also that gingersnaps are fantastic.  And that life has been very busy.  So today you are getting gingersnaps. Not that you could really mind a warm gingersnap straight out of the oven with a cold glass of milk.  

Two weeks ago I moved again for the fourth time in one and an half years.  Important boxes have still yet to be unpacked.  After one week at work, I was whisked off to the warm city of Houston for a week of training.   Maybe learned a couple of things and ate a whole lot of crap.  All I want to eat for the next week is egg drop soup. 

But out of love for you, I am going to get back on that saddle.  And hopefully fill my cooking backlog back up.  So I promise to dive back into my magazines today.  I've gotta put my new kitchen to the test.

Gingersnaps
From mom's gray tin recipe box


Recipe to come soon!  It's at home and I still am not...

Monday, January 23, 2012

Cardamom Macaroons


I really did think that once I had finished this move, I would be able to dive right back into the cooking and the eating and the blogging.  But then my entire silverware drawer got left back in the grand city of Terre Haute, IN and I have no forks, no spoons, no knives of any kind, not even a hot pad to my name right now.  Until I bought a small box of plastic silverware, I was eating my breakfast oatmeal with a large plastic mixing spoon.  I am often the epitome of classy.  So, until my beloved silverware drawer (rolling pins included) arrives, we shall venture further into my cooking backlog, which due to recent events has become quite thin.  Too thin for my liking...

If you are like me you have been hearing the word cardamom being thrown around a lot more often lately and you have no idea what it tastes like or even smells like.  About the 12th time it came up in a recipe, I figured I had to bite the bullet and try it.  And then I realized that one little bottle costed on the high side of $13 at my local grocery store.  I'm cheap and we all know that wasn't going to happen.  Luckily , Whole Foods has a bulk section, including bulk spices.  For under $3 I got a few tablespoons worth, enough to try it out and play with the new taste.  This is a great recipe to try it out with, especially because you only need 1/8th of a teaspoon.  The coconut doesn't kill your taste buds and they are just a tad too sweet and the cardamom hits you and the first thought is "what the heck is that?"  Even now, I can't really point out what it taste likes, but I guess cardamom is what it tastes like.  It's different.  Citrusy? I still can't place it.  I'll have to make another batch and try to figure it out again.  Oh the things I do in the name of food...

So, until my silverware drawer returns to me, please be patient.  And if you have an extra one, maybe send me a cork screw?  Cause I miss mine... At least the wine made it through the move just fine!

HAPPY BIRTHDAY BENJAMIN!!!  I <3 U!

Cardamom Macaroons
Cooking Light December 2011

This is going in the Big Green Cookbook.  It's different, but even without the cardamom (which we tried), these macaroons are fantastic.  These were really my first experience with the cookies, and they're simple to make and so yummy to eat!  And don't get made at me if you're dieting... they're straight from Cooking Light.   Just practice your only 2 cookies will power!  (I did reduce the sugar from 1/4 to 1/3 c.)

2 large egg whites, room temperature
1/3 c. granulated sugar
1 tsp. vanilla extract
1/8 tsp. salt
1/8 tsp. cardamom
1 1/2 c. flaked, sweetened coconut

Preheat oven to 325.  Line baking sheet with parchment paper.

In very clean glass bowl, beat egg whites with a whisk.  Add all dry ingredients up to cardamom and whisk well, until egg white mixture is foamy.  Fold in coconut.

Using a tablespoon measure, spoon coconut mixture onto prepared baking sheet about an inch apart, packing/squishing gently to get them to stick together.  One batch will make 20-24 macaroons.  Bake at 325  until golden all over, about 22-24 minutes.  Cool in pan a few minutes then transfer to wire rack to cool completely.

If storing, store in air tight container at room temperature.

Tuesday, January 17, 2012

Wheat Pizza Dough


Back at school, when nothing else looked good in the dining room your last resort was the make your own pizza line.  Freshman year, making your own pizza was all the rage.  But by Junior year we all came to realize that it was clearly only a fall back option, never the way you would make it yourself and that if you choose the wheat crust in a vain attempt to be healthy, you dinner was basically tomatoes and cardboard.  It wasn't good.

After 4 years of cardboard wheat pizza, I am so happy to report that this wheat pizza dough does not taste anything at all like cardboard.  It kinda taste like, well, normal pizza dough.  And even better, I'm in my own kitchen and allowed to actually touch the food and making my own pizza is no longer a last resort.  It's actually exciting.

With such low expectations of wheat pizza dough, this really blew my mine.  I made half a batch (the recipe makes enough dough for two pizzas), but as soon as I have officially moved and have a brand new freezer to stock up, I plan on making pizza for dinner again and freezing the extra dough ball.  And then, I can have make my own pizza any time.  And it'll be good and healthy.


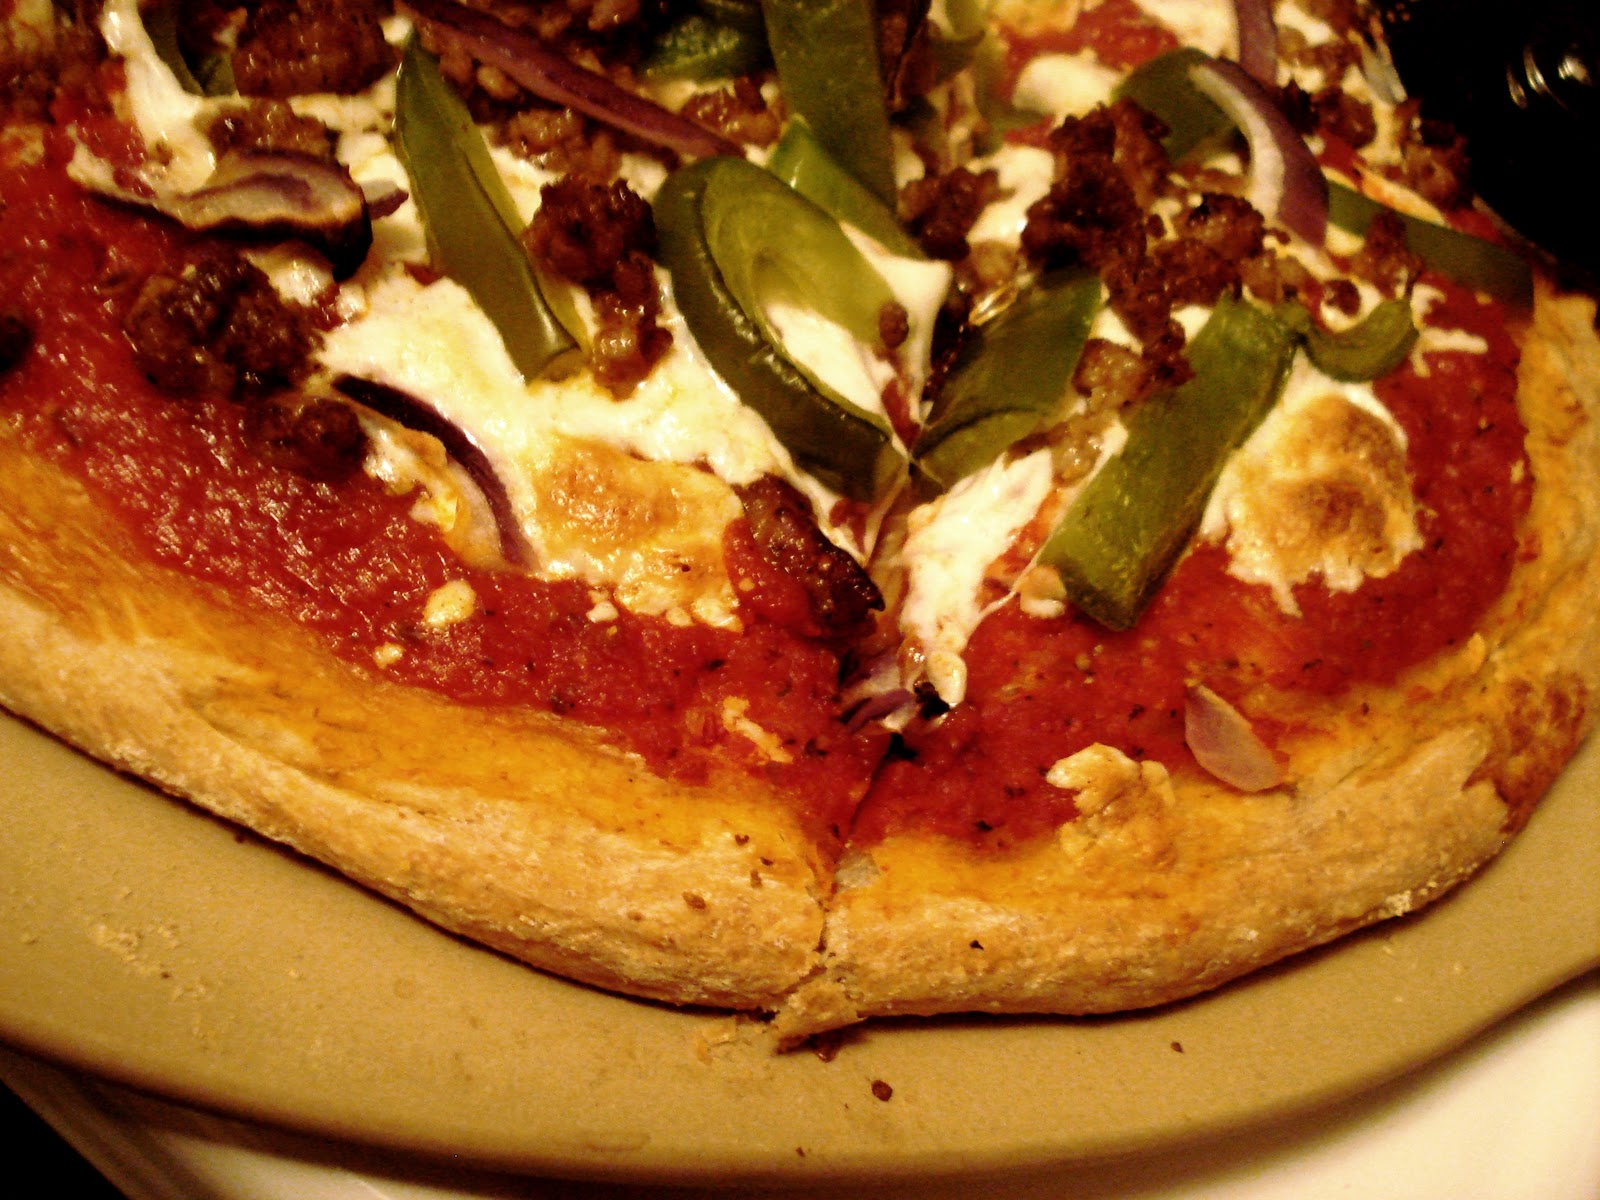
Ben and I topped ours with a homemade tomato sauce (fire roasted diced tomatoes whirled together with some garlic, oregano, basil and thyme), crumbled Italian sausage, green peppers and red onions.  And then pigged out with the whole thing, ending the night with beers and chocolate turtle cake.  It was a damn good dinner while we watched The Social Network.  Except, I didn't really like the movie and am apparently in the minority there.  At least the pizza dough is a keeper.

Wheat Pizza Dough
Adapted from The Haeger NaturalStone Pizza Cookbook

Haeger calls this whole wheat pizza dough.  However, seeing as the majority of the flour used is plain all-purpose, I'm sticking to wheat pizza dough.  I'm one of those let's call a duck a duck kind of people...  This will make enough dough for 2 pizzas.  Halve recipe for one pizza or make the whole thing and have an extra in your freezer!

2 1/4 c. all-purpose flour
1 1/3 c. whole wheat flour
1 package (2 1/2 tsp) rapid rise yeast
2 tsp. kosher salt
1 tsp. sugar
1 1/4 c. warm water (110 deg. F)
2 tsp. olive oil (+ more for oiling bowl)

Grease large bowl lightly with olive oil.  In bowl of food processor, combine flours, yeast, salt and sugar.  Pulse until well combined.  In cup with pour spout, combine water and oil.  With motor running, slowly stream in water/oil mixture.  Pulse food processor until dough comes together in a rough ball.  If dough does not come together, add up to 2 teaspoons more of water until it does.  Pulse food processor often for 25-30 seconds, or turn dough out onto a lightly floured surface and knead by hand.  With floured hands, form dough into a smooth ball and set in prepared bowl, turning it once or twice to coat with oil.  Cover with plastic wrap and let sit in a warm area 1 1/2- 2 hours, or until doubled in size.

Prepare pizza sheet, baking stone, whatever you are using by sprinkling lightly with cornmeal.  Set aside.  Turn risen dough out onto lightly floured surface.  Punch down, knead lightly and form into a long cylinder.  Divide into two equal balls and let rest for 5-10 minutes.

Preheat oven to 425 F.  Roll out dough to fit your prepared pan and transfer to pan.  Top with sauce, cheese and whatever pizza goodies you want.  Bake in oven 20-25 minutes until crust is golden and cheese is melted and delicious.

If freezing one or both balls, wrap well in plastic wrap and freeze in zipper-lock bag.  Dough will last in freezer for 2 months; to use thaw, at roomer temperature for 3-4 hours.

Wednesday, January 11, 2012

Rich Vanilla Frozen Yogurt


Ben is a rock star gift giver.  Now I know that Christmas and birthdays aren't all about gifts and that there shouldn't be a contest between who gives the best gift, yada, yada, yada.  Whatever.  The point is, the last few years the boy has beaten me on every occasion, managing to give the best gift I never knew I always wanted. It's incredibly frustrating.


This year I gave him a wireless router.  In return I got an ice cream making attachment for my KitchenAid.  And, here is the best part, he made me a cookbook stand with his own two hands.  You know, he may be a goofball most of the time, but he can also be handy.  It's fantastic, with a nice splatter guard cover and everything.  (You see it in the back of that picture there?  Doesn't it look nice and professional?  I am spoiled, I know)  The boy even thought to make grooves small enough to hold up my magazines and the countless recipes I print out on single sheets of paper.  So, I think it goes without saying that Ben knocked it out of the park on this one.  He wins Christmas.  Lucky for me, his birthday is coming up so I can redeem myself.  Now all I need is a killer idea.... anyone?


Needless to say, we wasted very little time getting the ice cream maker frozen and frozen yogurt into our tummies.  We picked this recipe out because, surprise of all surprises, Ben had all the ingredients on hand.  Yes, there are only three ingredients, but this is a boy apartment we are talking about here.  The sugar dissolves into the yogurt quickly and makes a pre-ice cream batter that taste delicious.  After about 20 minutes of turning, this soft, sweet fro-yo stuff comes out and it's truly delicious.  After freezing a few more hours in the freezer, it firmed up quite a bit, the sweetness mellowed out and we could actually scoop balls out of it.  We ate a few servings of it topped with strawberry rhubarb jam, but mostly we ate it standing up in his kitchen right out of the container.  2012 is going to be a good, ice cream-filled year...

I'm moving, again!!  I know, I haven't even unpacked all my boxes from the last move.  Ah well, there's not point now!  My Crock Pot and KitchenAid are already in Illinois, which makes me sad, because I just discovered this.  So get ready for an onslaught once I finally get to Rockford!

P.S.  Dear, please do not hate me for posting the picture of you.  I think it's cute and charming.  Thank you.

Rich Vanilla Frozen Yogurt
Adapted from David Lebovitz The Perfect Scoop, another amazing Christmas gift

4 c. plain Greek yogurt
1 c. granulated sugar
1 1/2 tsp. vanilla extract

Stir all ingredients together well, until sugar dissolves completely (this will not take terribly long at all).  Doing this in a bowl with a pour spout is a very good idea.  Chill in fridge 30-60 minutes, depending on your patience.

Plug in ice cream maker and get it running.  Pour in yogurt mixture.  It will be thick and it will likely be a little messy.  Freeze according to your maker's instructions.  Enjoy immediately if you like it soft, or freeze in air tight container for a few hours, once again depending on your patience!

Thursday, January 5, 2012

Cheesy, Slow Roasted Onions


I was so ready to love this recipe.  And to be honest, I've managed to talk myself into thinking maybe I actually did.  I blame the confusion on this sickness that I really just can't seem to kick out of my system.  Obviously my food loving sensory detectors are on the fritz if the rest of my body is feeling this crudy.  I should be doing nothing but watching movies on my couch, in my pjs, eating buckets of gooey, yummy, milk rice.

Yet, I'm at work each day, working out a few times afterwards, going grocery shopping, cooking, cleaning and doing laundry, and oh yeah, getting ready to move in a matter of days.  And then I made cheesy, slow roasted onions, wanting so desperately to love them like I thought I was meant to, and I just couldn't.

Which is a pity, because when you see how simple this recipe is, you can imagine how great it would be to love them.  To come home and even with a to-do list that is a mile long, still get these in the oven in less than 3 minutes.  I think the problem came from too much Meyer Lemon Olive Oil (a Homegoods purchase I am still so psyched about) and weird cheese.  Yes, mostly I blame the cheese.  Don't ask for reasons, because it makes sense in my clouded brain.  Next time around I'll stick to something a bit more normal, less adventurous, you know aged cheddar or something.  And yes there will be a next time, because I know deep in my bones that I was made to love cheesy, slow roasted onions.  We were meant to be.

I'm moving, again!!  I know, I haven't even unpacked all my boxes from the last move.  Ah well, there's not point now!  So, please be patient with me and the lack of creativity as we work through my cooking backlog and I get the rest of my stuff packed back into boxes... again.

Cheesy, Slow Roasted Onions
From November 2011's Cooking Light


2 medium sized onions
Olive Oil, preferably fruity
Cheese

Preheat oven to 350 degree F.

Peel and quarter onion by cutting a cross from the top of each almost to the root.  Place in oven proof dish and drizzle lightly with olive oil ("A fruity olive oil is best if you have the choice").  Tent onions in foil.  Place in oven and roast for 45 minutes.

Remove onions from onion and discard oil.  Spoon some oil over the onions and return to oven, uncovered, until golden and soft, about 15 minutes more.

While roasting, slice some cheese thinly (recipe suggests cheddar, Gruyere, or Camembert).  Once onions are soft, top with cheese and return to oven until cheese is melted.   Serve immediately.