Showing posts with label Dessert. Show all posts
Wednesday, July 11, 2012
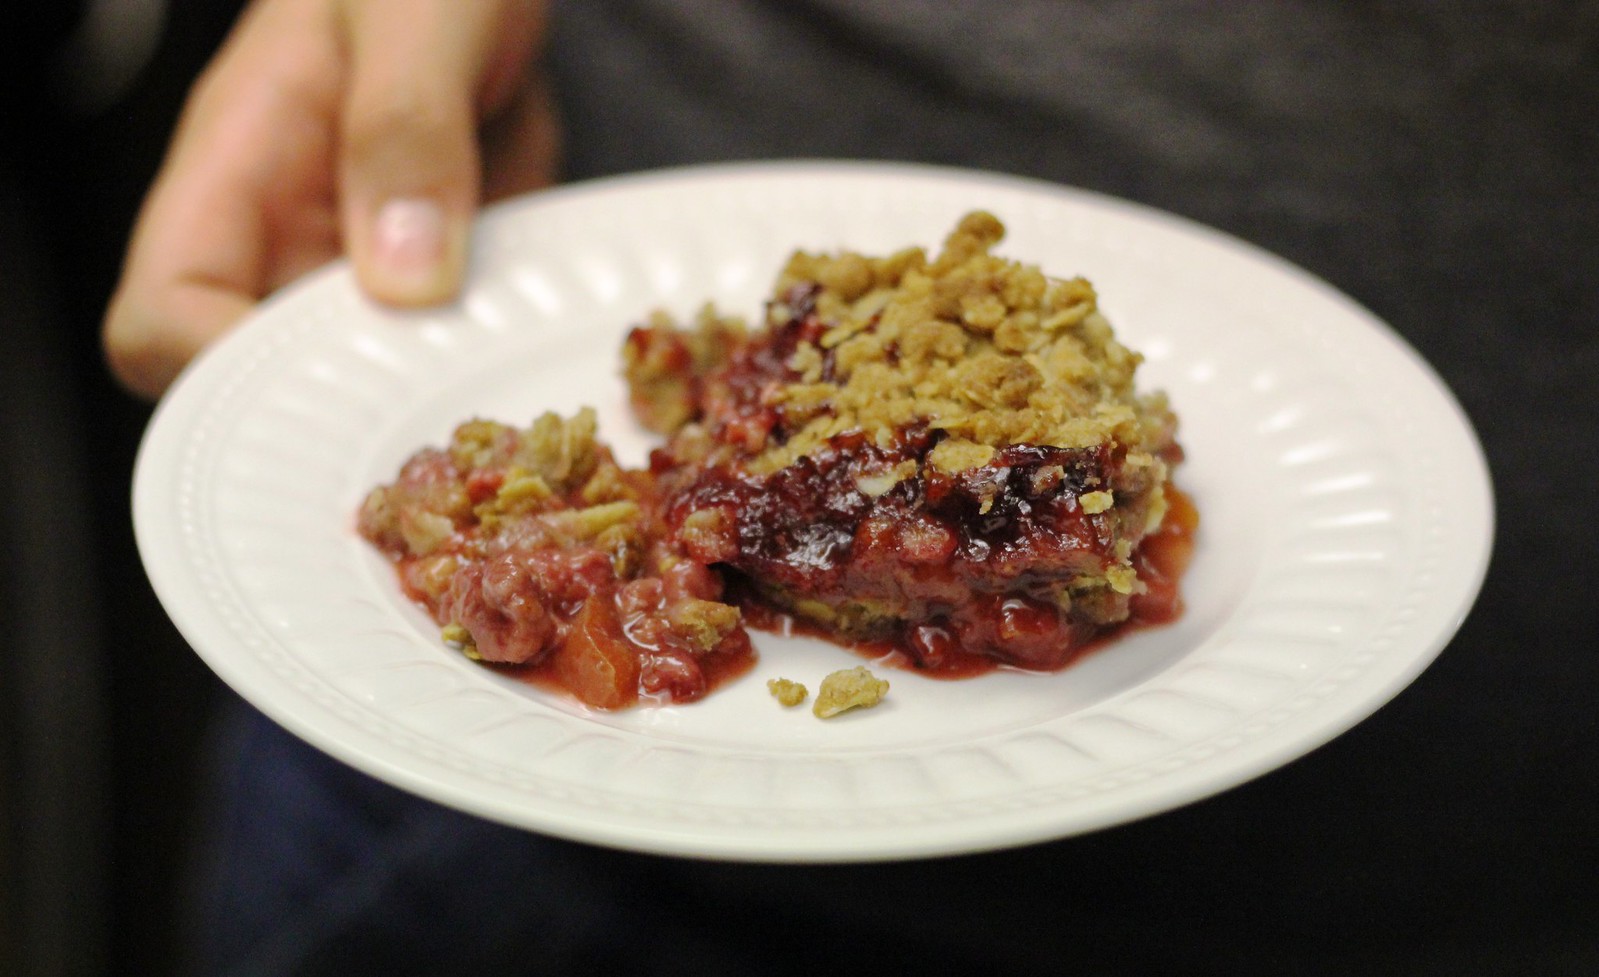
Peach Raspberry Crisp
Somewhere in my mother's house, hidden in a box under some dust, unfit for internet publication, is a picture of my sister and I dressed up in our bedding, acting the part of Arabian princesses. We were told to strip our beds and bring the sheets out to my mom to wash. When she yelled at us 30 minutes later to hurry our butts up, that is what she found. Luckily she thought it was cute, her idiot daughters, and grabbed the camera to save the moment forever.
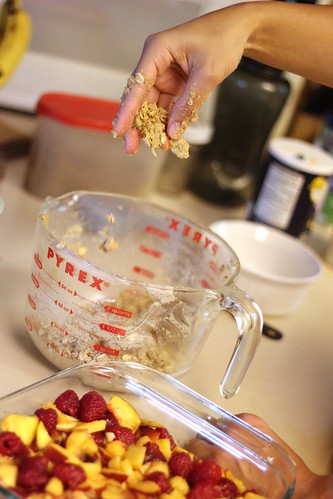
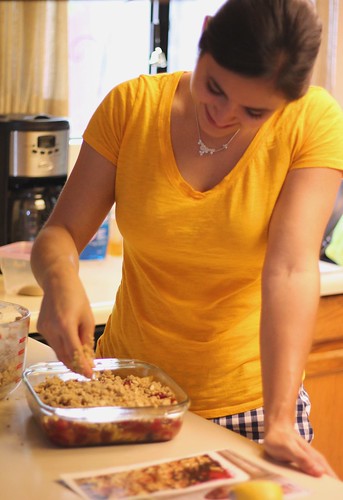
My sister and I have a history of being idiotic and silly together. It shouldn't really come as much of a surprise that when asked to take pictures of me cooking this fabulous peach raspberry crisp, she said yes and soon adopted the personae of a Russian photographer, accent and everything. Why Russian? Because that's what came out. And did I play along? I crumbled that crisp with as much passion and flying flour I could muster, much to the chagrin of my time-crunched mother who was trying to get a family meal on the table. It ended in laughs, a minimal amount of flour and oats on the floor, hilarious pictures (unfit for internet publication, of course) and one damn good peach raspberry crisp.
Love to my Russian photographer sister, saintly mother and fresh peaches and raspberries!
Peach Raspberry Crisp
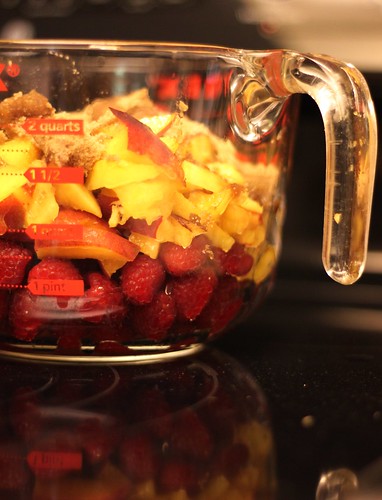
This was inspired from Martha Stewart's new cookbook, Martha's American Food. My mom pulled it from some magazine. It started as a blueberry crisp, but mom had raspberries in the fridge and the peaches at the store were delicious and cheap. A few more subs and this came out. I couldn't be happier. I think several fruits could be subbed in (just end up with 6 cups of fruit), as well as different nuts. The original recipe called for regular sugar, but I switched to brown because I thought it would go better. This was delicious. This is a keeper!
Filling:
3 c. peaches, pitted and sliced
3 c. raspberries
1/2 c. brown sugar
1 Tbsp. cornstarch
Juice from half of a lemon
1/4 tsp. kosher salt
Crisp:
6 Tbsp. unsalted butter
1/3 c. brown sugar
3/4 c. flour
1/2 c. old-fashioned oats
1/2 c. chopped walnuts
1/2 tsp. baking powder
1/2 tsp. kosher salt
Preheat oven to 375 degrees.
Mix together peaches, raspberries and remaining filling ingredients. Pour into an 8 x 8 baking dish. Squeeze lemon over top.
In large bowl, cream butter and brown sugar. Add remaining crisp ingredients (mixed in a small dish before hand would be best) and incorporate into butter/sugar mixture with your hands. Pinch and squeeze crisp to get a crumble clump like effect. Sprinkle crisp evenly over fruit filling and do not pack down.
Bake crisp at 375 for 50-60 minutes (mine was closest to 50, but we used a glass dish). Crisp should be golden brown on top and juices from filling should be bubbling. When done baking, let cool on wire rack before servings.
Monday, July 2, 2012
Vanilla Roasted Rhubarb and Strawberry Sauce
Remember way back when I tried to teach you all something? Like, way back when, in blog post numero diez, if I remember correctly. Well, guess what! I'm actually going to give you another recipe to try it out on. Because, that's what we are all about here at the BGCB. Teaching you something and then never mentioning it again for over a year and ninety-nine (because 100 would just be too perfect) post later...
But that just means you've had 14 months of practice under your belt, right? You have perfected the parchment heart folding technique? Yes? Fantastic, because this is what you want to be folding your heart around just as soon as possible, because rhubarb is here now and it's known to be flighty. Plus, it's hanging out with some bourbon. And bourbon for breakfast is a happy, happy thought.
Vanilla Roasted Rhubarb and Strawberry Sauce
Adapted from June 2012's Bon Appetit
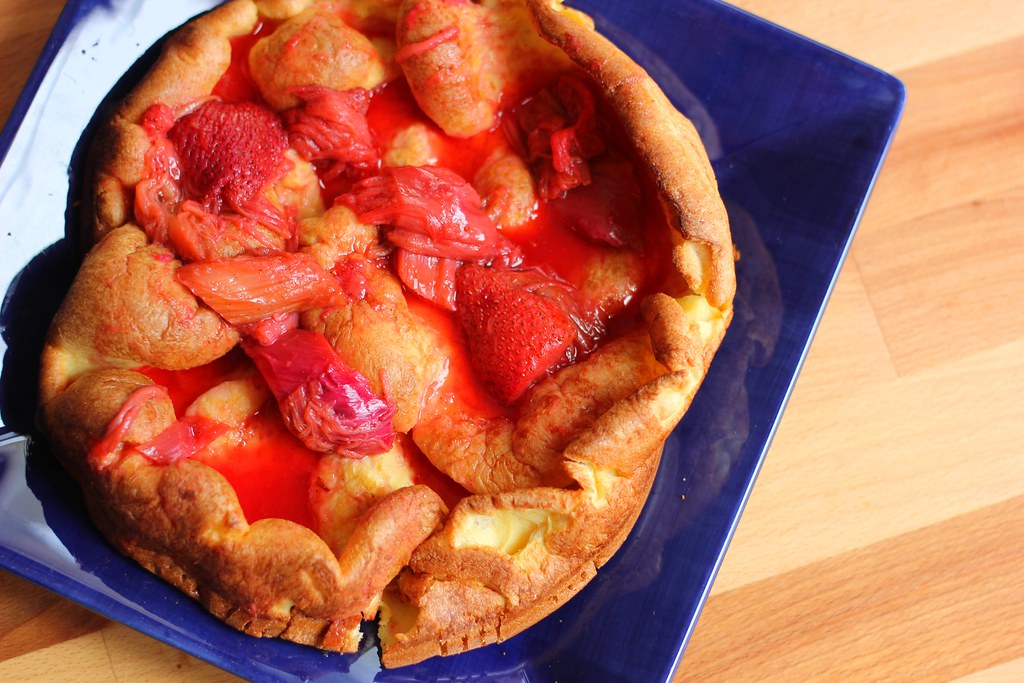
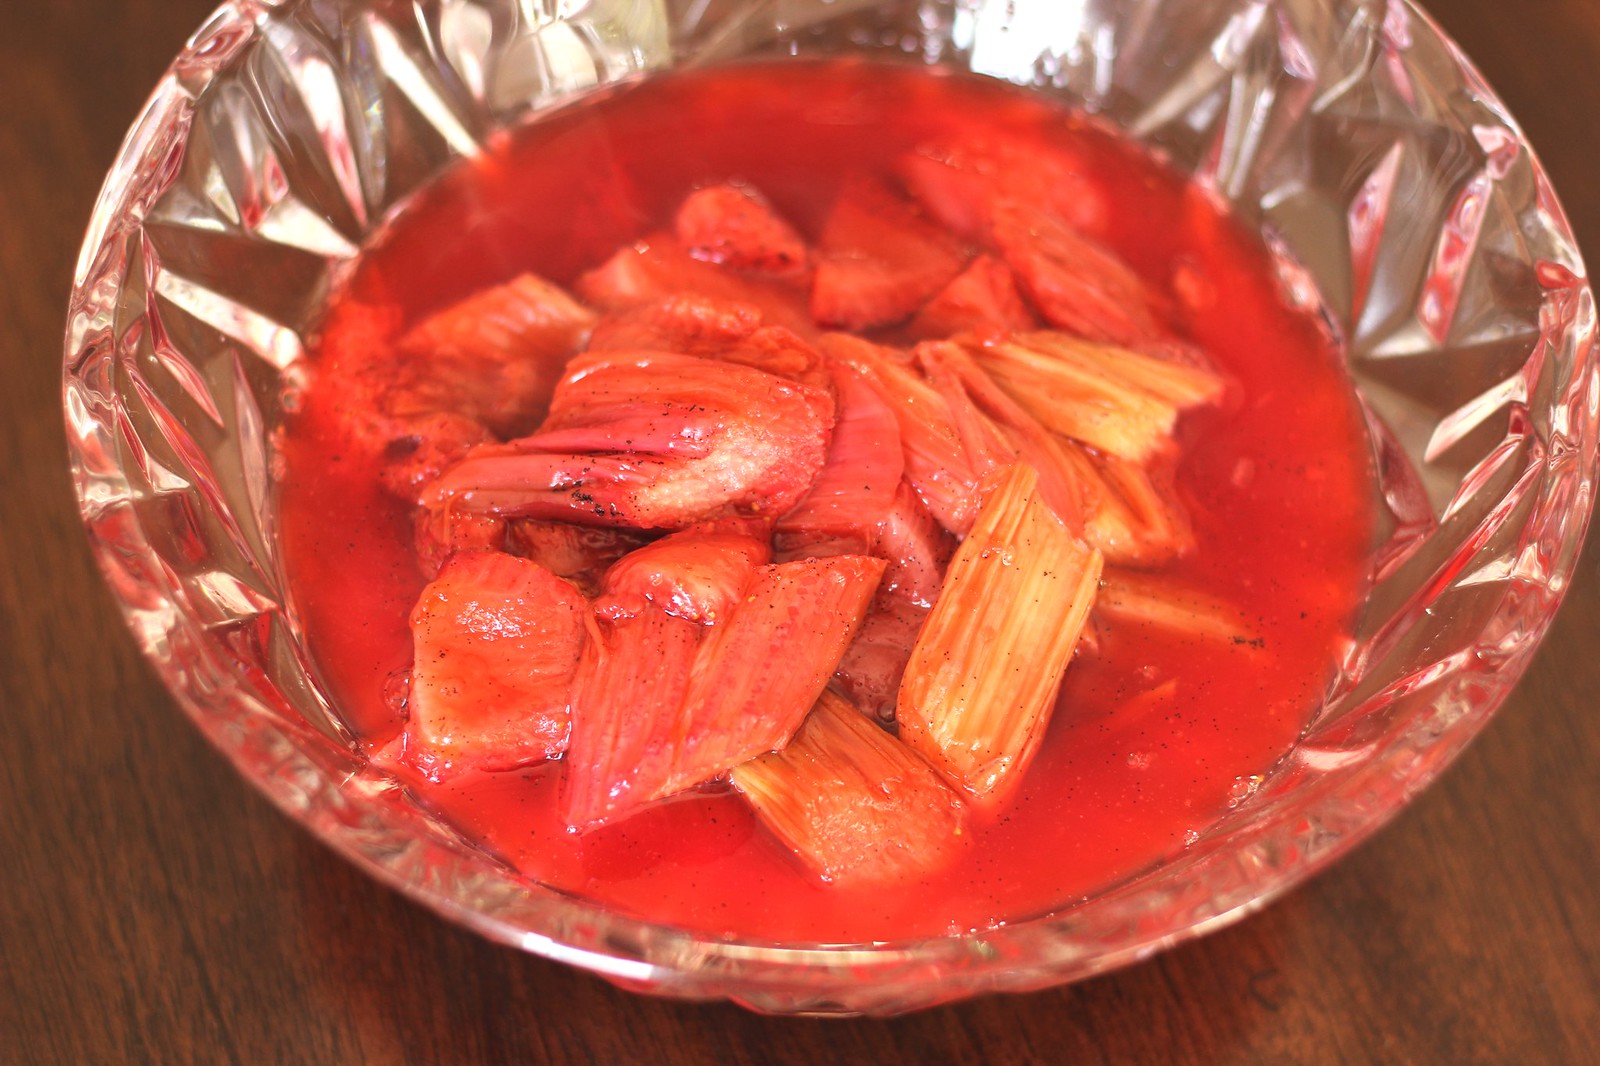
Very much BCBG worthy. Because, one, there is bourbon and two, it's delicious. Most especially on top of some yummy, floppy German Pancakes, courtesy of none other than the lovely Smitten Kitchen (really, who else)?
1 lb. rhubarb (3-4 stalks)
1/2 lb. strawberries, halved
1/4 c. bourbon
1/4 c. granulated sugar
1 4 inch piece vanilla bean
Preheat oven to 425.
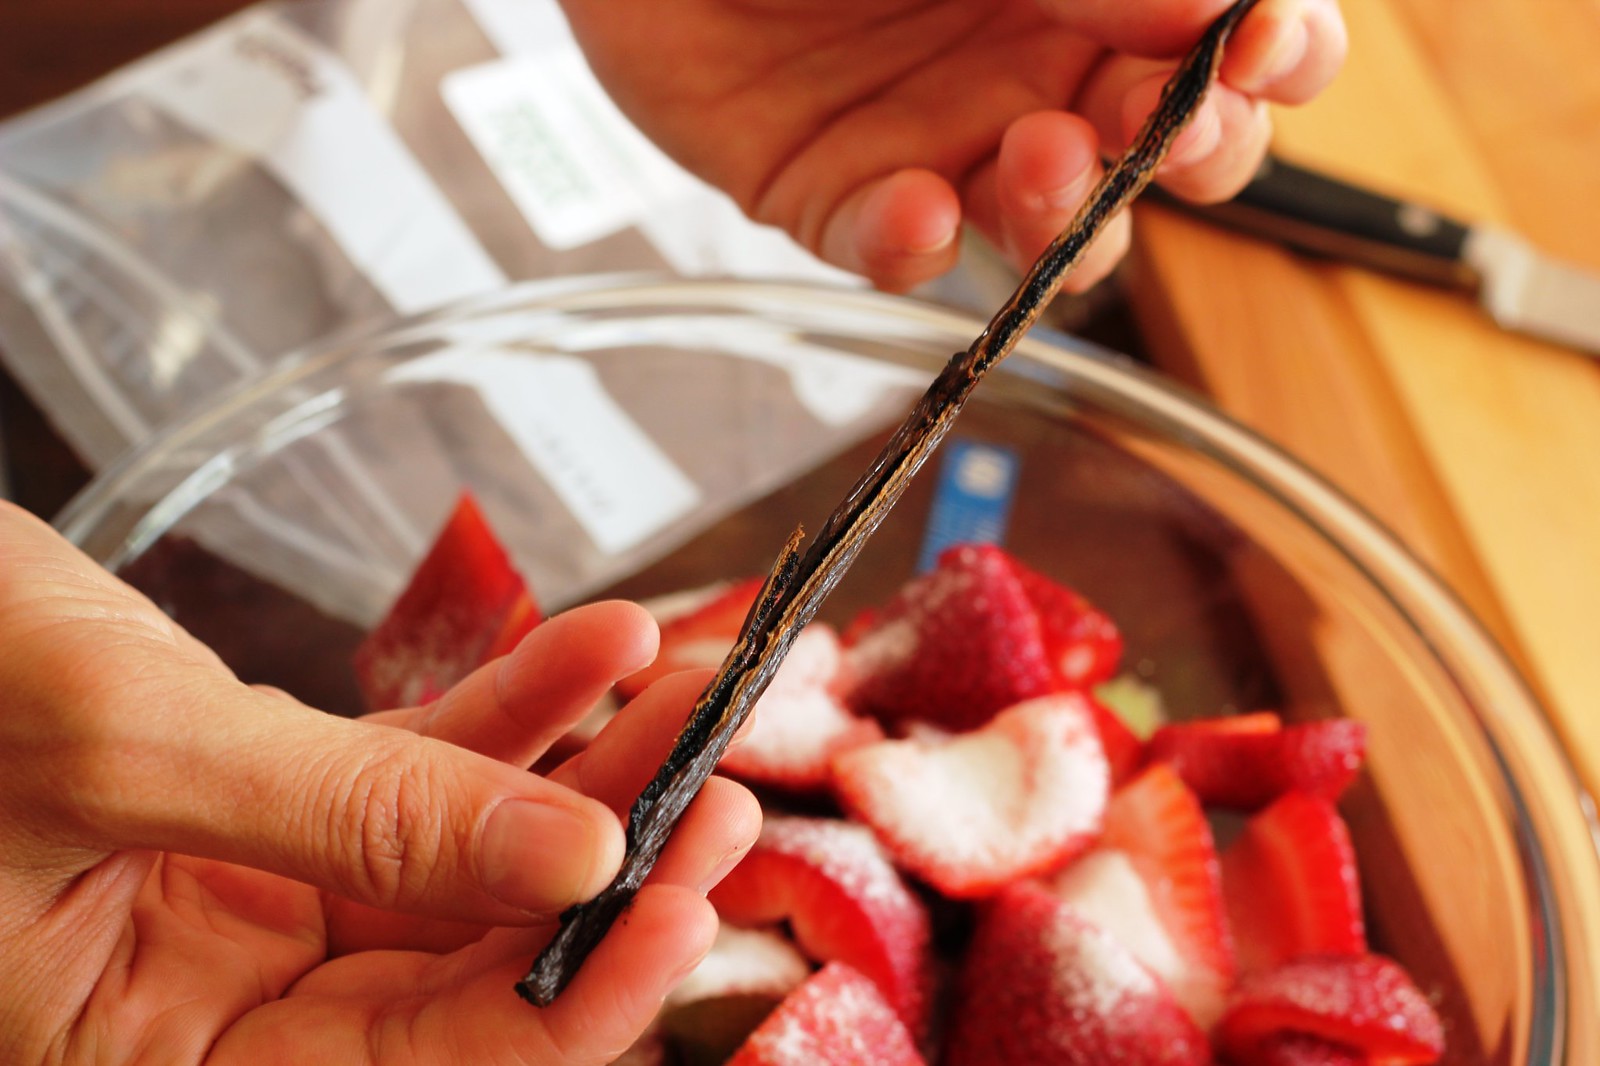
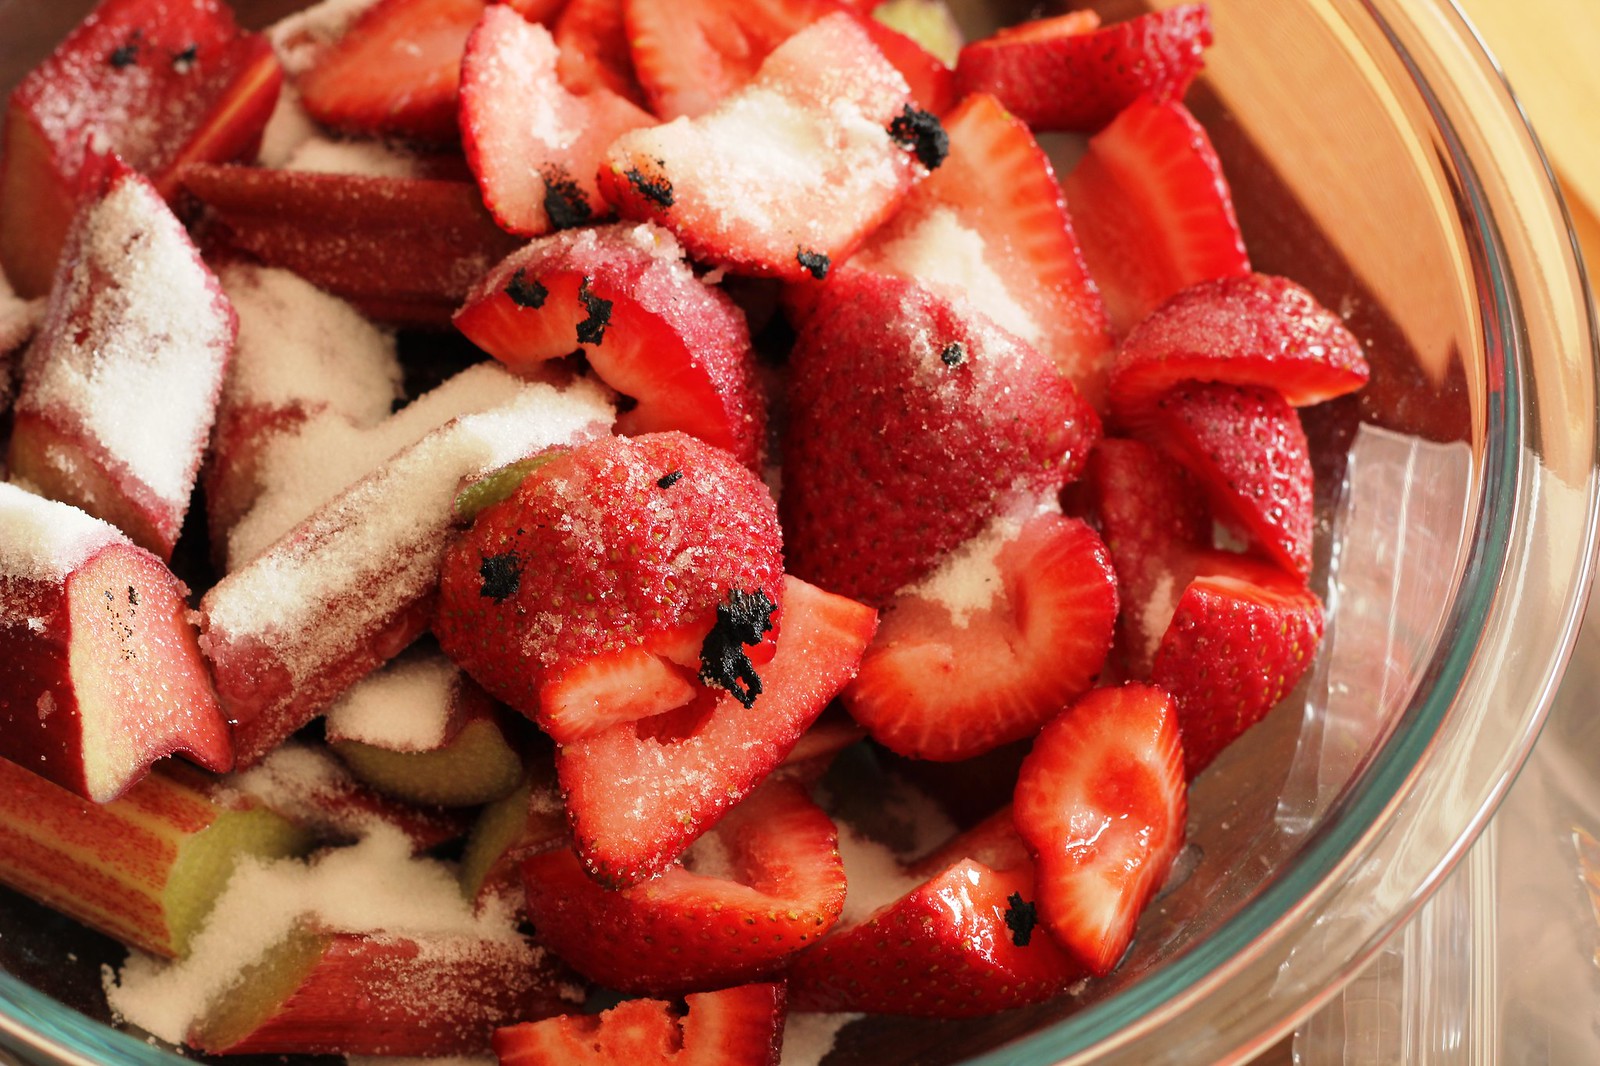
Cutting on a sharp diagonal, slice rhubarb into 2 inch pieces. Combine with strawberries, bourbon and sugar, mixing well until sugar dissolves. Using a small sharp knife, split the vanilla bean in half lengthwise. Scrape seeds from inside bean and add to rhubarb/strawberry mixture. (Here BA had you add the actual bean. I was afraid of eating it and I wanted vanilla sugar, so instead I cut it up in a few pieces and added it to a little sugar. Soon, I will have vanilla sugar!).
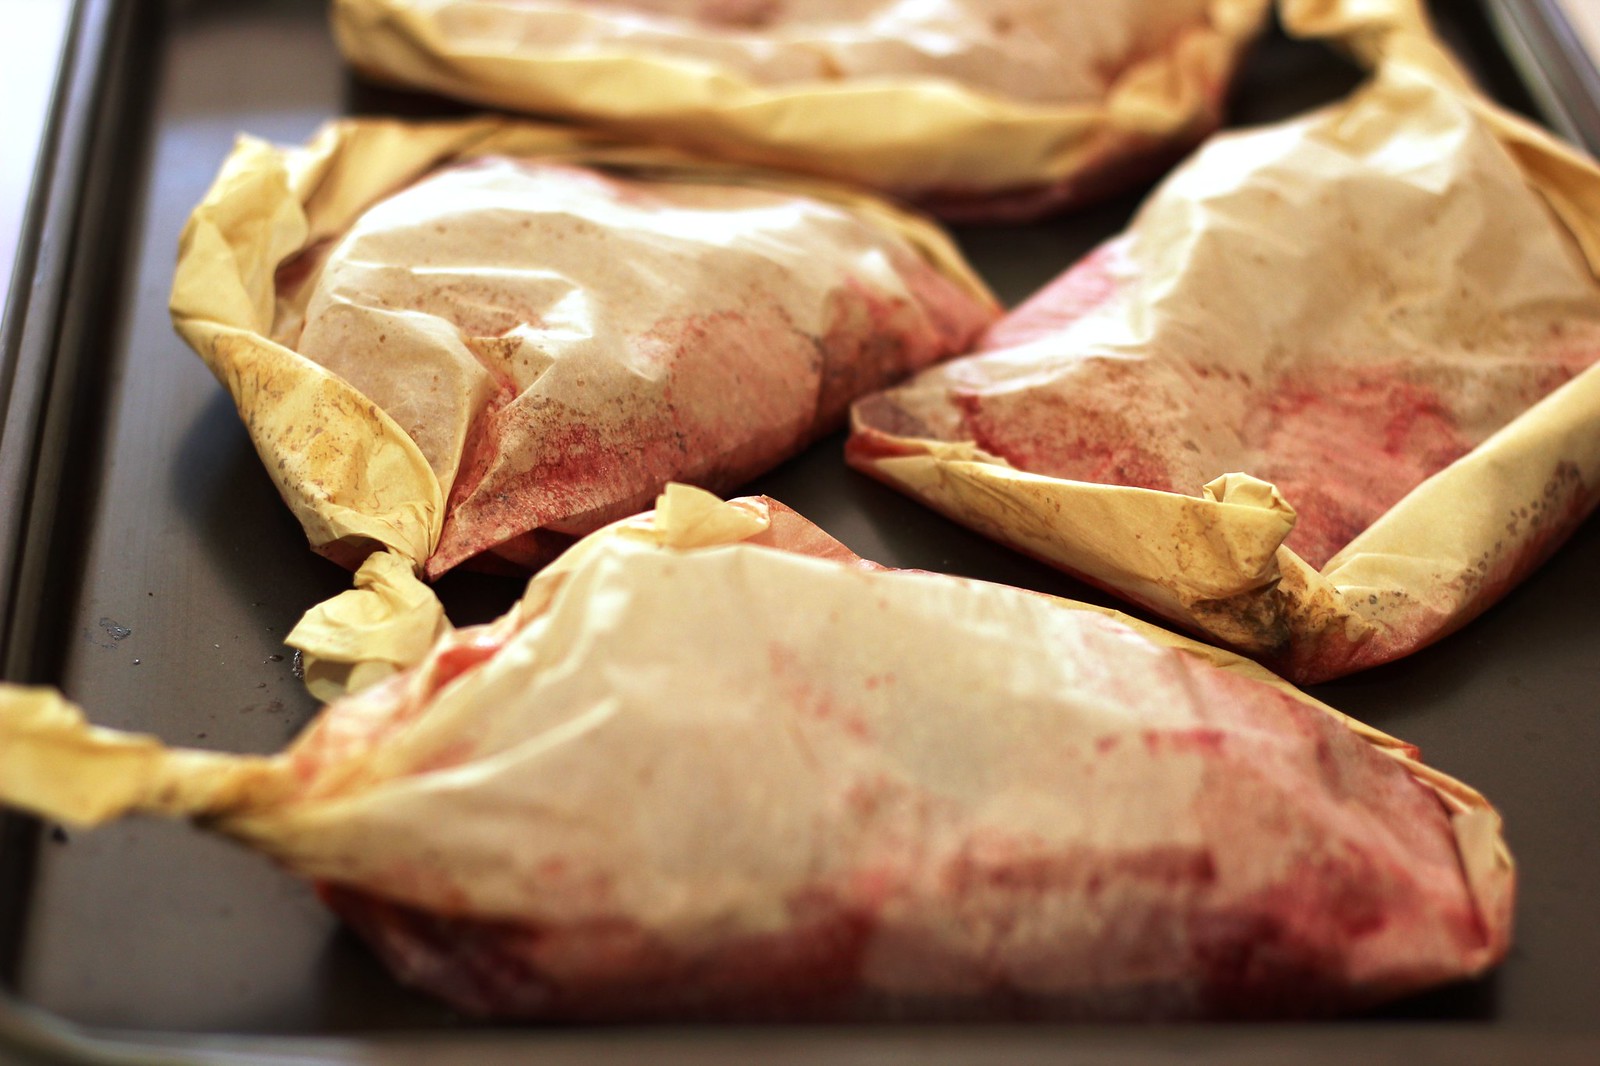
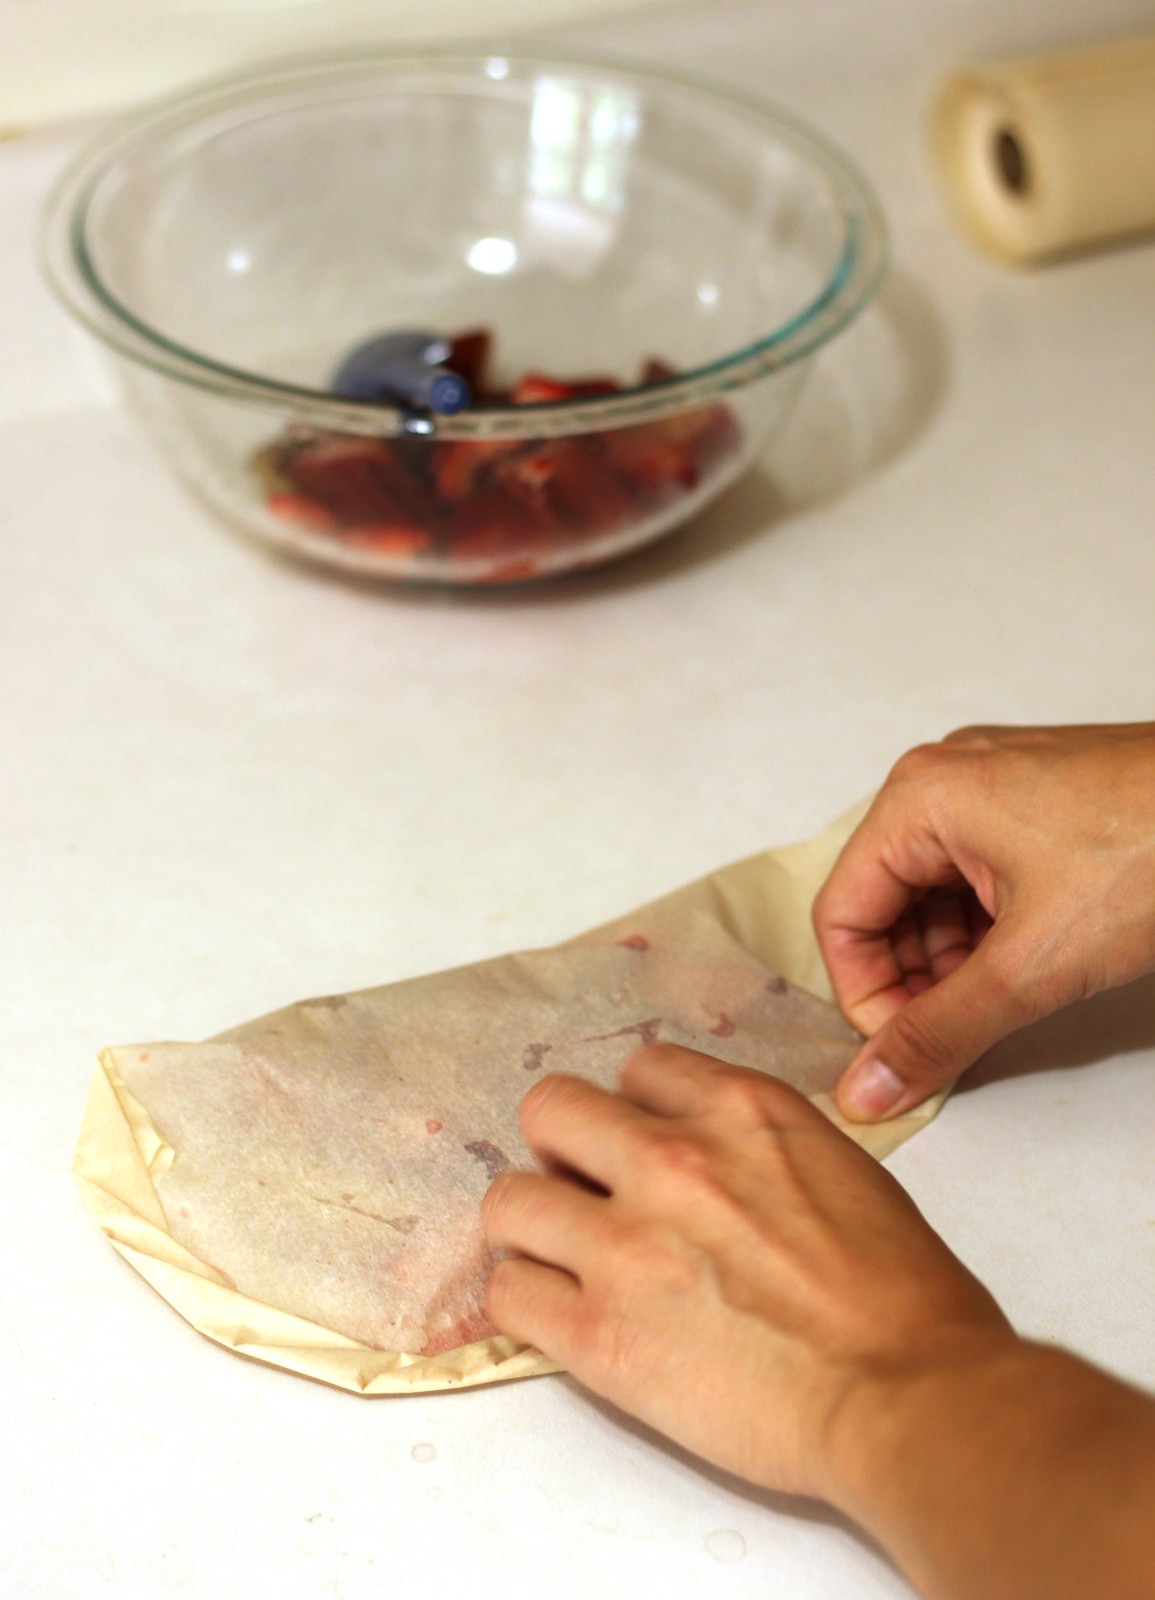
Anyways, lay out 4 parchment paper heats as seen here. Divide fruit mixture evenly among the four. Fold up hearts into well sealed packets. Place on rimmed baking sheet (might not be a bad idea to line the baking sheet too, in case of leakage). Roast 12-14 minutes. To test doneness, carefully open packet and check rhubarb with fork (needs to be fork tender). Carefully cut open the packets, being careful to watch for escaping steam.
Serve over pancakes, greek yogurt, ice cream, etc. With crushed pistachios if you want some crunch!
Friday, June 22, 2012
CinnaMocha Fudge Pops
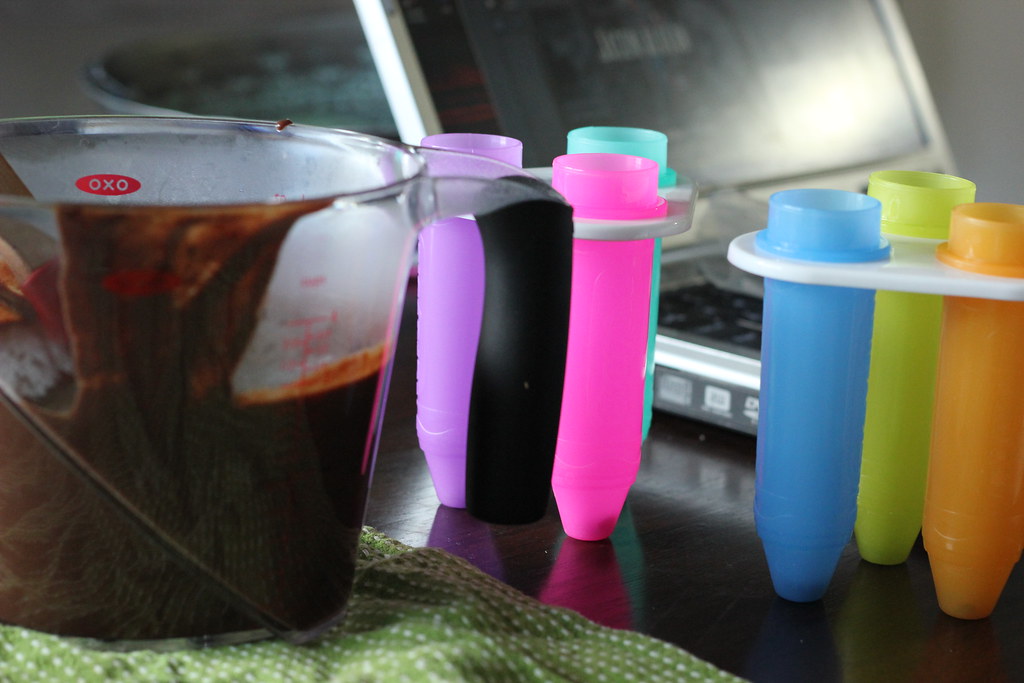
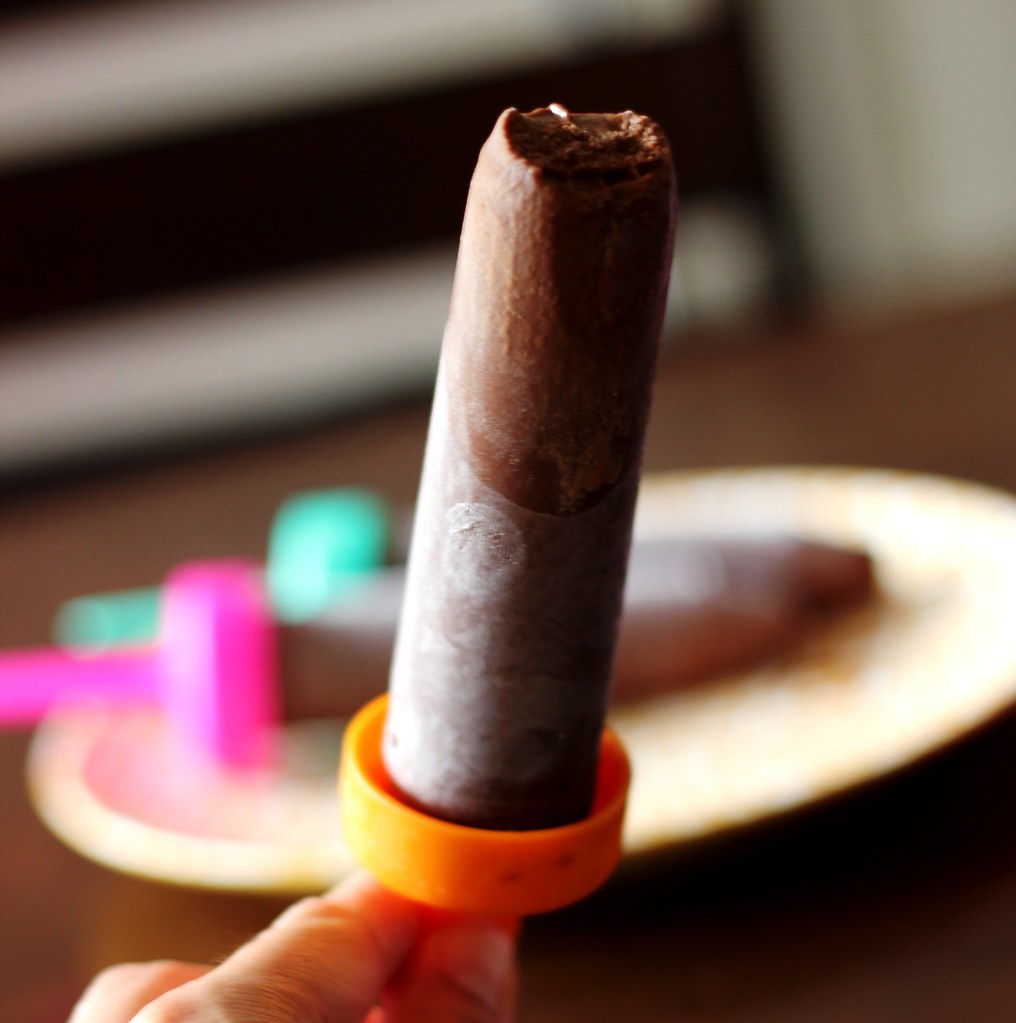
I did something kind of crazy. I'm thinking about blaming it on the heat. Or the fact that these days it doesn't get dark until 9 pm. Or, you know, the whole "I love chocolate thing". Or some combination of those three. Regardless of the reason, I still did something a little, tad-bit crazy. You see, I went and took this pudding recipe here and, ahem, poured it into some dollar store molds. Yeah, I made FudgeSicles. Except, I made the cinna-mocha-latte wonderful kind.
Adapted from a pudding from CL April 2012
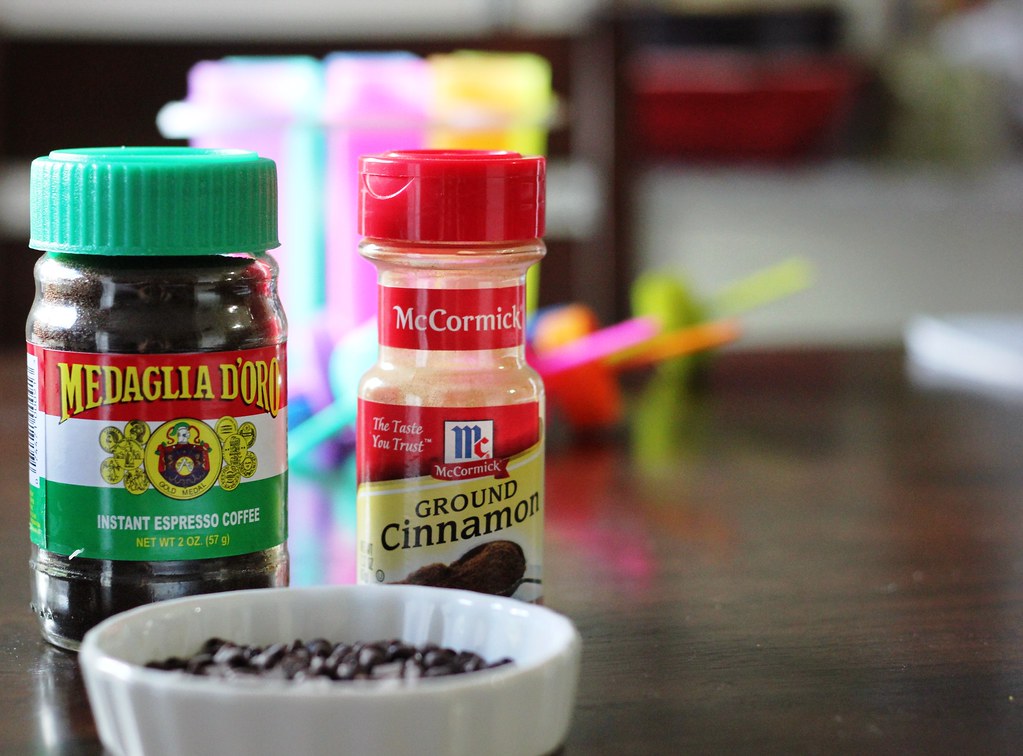
The weird mouth-feel that my first go round with these had (in the warm pudding form) worked to our advantage once frozen. Unfortunately, the freezing also seemed to do something with the espresso. It lost is. I would suggest doubling that (reflected below). Also, 1/2 tablespoon is A LOT of cinnamon. I'm cool with that. If you're not, you've been warned...
1/2 c. granulated sugar
1 egg (large)
2 c. 2% milk
1/3 c. unsweetened cocoa
1 Tbsp. cornstarch
2 Tbsp. instant espresso granules
1/2 Tbsp. cinnamon
1/8 tsp. salt
1 oz. bittersweet chocolate
1 tsp. vanilla extract
1 tsp. unsalted butter
In medium saucepan, whisk together sugar and egg. Once egg is incorporated, continue to whisk in next 5 ingredients (through salt). Once combined, put pan over medium high heat stirring consistently, for about 14 minutes or until mixture becomes thick and bubbly. Remove from heat. Add chocolate and whisk together until melted and smooth (and swoon-inducing!) Whisk in vanilla and butter. Let cool slightly.
Stand up Popsicle molds. If you so desire, sprinkle a few mini chocolate chips in the ends, just for shits and giggles. Pour in slightly cooled pudding. For even more fun, sprinkle a few more mini chocolate chips in. They will get melted and pushed deeper in by the stick. ignore your desire to laugh inappropriately at the previous sentence. Freeze until firm, unmold and enjoy!
Wednesday, May 23, 2012
Warm Mocha Pudding
When I was little, we didn't often have dessert on week nights. That is, until I discovered that if I made it when I got home from school and didn't make too big a mess out of the kitchen, mom was actually quite alright with dessert during the week. And thus a new Ruiz family way of living was born.
It started simply with jello. But even with all the flavors and all the colors of the rainbow, I couldn't leave well enough alone. Too impatient to wait long enough to make actual different colored layers, I graduated instead to mixing in canned fruit with my jello. There was pineapple with the blue raspberry and fruit cocktail in the lime green.
But a family cannot live on jello alone. And soon enough, there was pudding on the horizon. After one small debacle with the non-quick cooking type, I mastered the jello pudding and pudding nights became a happy mid-week break. I was no more than 10 and mastering pudding was an accomplishment, with quite yummy returns.
And I liked it. Ben even more. It was tthhiiss close to getting into the Big Green Cookbook, except for one tiny, little, itty bitty problem. The texture was wrong. It was kind of grainy. It wasn't horrible and didn't affect the taste at all, but it was there. Being the diligent recipe tester that I am for you guys (ok, lie, I can't help but eat melted, sweet, swoon inducing chocolate), I know exactly where it happen. Before I stirred in the butter at the end - success. Afterward - deliciousness with just a hint of grainy. Something that could be completely my fault? More than likely. Something that deserves a second go round just to double check? Absolutely.
Warm Mocha Pudding
From Cooking Light April 2012
I've made one change. I used 2% instead of 1%. The link (as always) is under the recipe title if you want to see the original. Another reason I was so excited about this recipe is that it made me finally buy a jar of espresso powder. So heads up, we're going to be seeing a lot more mocha in the very near future.
1/2 c. granulated sugar
1 egg (large)
2 c. 2% milk
1/3 c. unsweetened cocoa
1 Tbsp. cornstarch
1 Tbsp. instant espresso granules
1/8 tsp. salt
1 oz. bittersweet chocolate
1 tsp. vanilla extract
1 tsp. unsalted butter
In medium saucepan, whisk together sugar and egg. Once egg is incorporated, continue to whisk in next 5 ingredients (through salt). Once combined, put pan over medium high heat stirring consistently, for about 14 minutes or until mixture becomes thick and bubbly. Remove from heat. Add chocolate and whisk together until melted and smooth (and swoon-inducing!) Whisk in vanilla and butter. Pour into separate serving bowls and cool 5-10 minutes before serving.
Thursday, May 3, 2012
Honey Roasted Pineapple
Today I had a realization at work: I cannot think whilst listening to jazzy telephone hold music. (Also, I like using words like whilst). I try to do productive things while on hold, excel playing, organizing and whatnot, waiting for a conference call to start, but that jazzy music? I swear, it makes any and all brain waves stop. This was today's major take away. Well, that and the idea that maybe I was on the phone a little too much today at work. Needless to say, it was a rough day.
This has nothing to do with pineapple, roasted or any other kind, but I’m a little brain dead from all the snazzy telephone hold music and after staring at an empty blog page for a few minutes, this was all I was able to come up with. Know what would be good right now? Leftover Roasted Pineapple. There you go, there’s our tie-in. Let’s move on, shall we?
There, that's better. So, the BA "in the kitchen" section in each month's magazine is quickly becoming my favorite part of the periodical. Yes, of course the stories and spreads and all matter of other sin are great too. But that kitchen section? It's like it was made for me. Great, yummy, quick mid-week dinners. This is where I've gotten gems such as this, and this, and oh yeah this piece of work too. Without fail, each month there are BA in the kitchen dinner recipes, always ending in a quick and fabulously yummy looking dessert. This is my first audition of a dessert recipe from those hallowed pages, and I will be the first to divulge, it did not disappoint.
This dessert made me happy. For a Wednesday night, it was quick. It was easy. It roasted and smelt beautifully while we ate dinner. Most importantly, it made the most breathe-taking leftovers ever to meet a cool Tupperware-full of Greek yogurt. Left overs are important to me. I only have 2 mouths to feed (only 50% of the time) and I always manage to screw up halving a recipe. Regardless of the fact that my college admissions essay was based upon my love for math. What, you didn't know I was a complete and total nerd? Well... now you do. And now you can go contently roast some love into a pineapple and de-frazzle your jazzed up brain. I'll take care of any leftovers.
Honey Roasted Pineapple
Adapted from March 2012's Bon Appetit
I want to reiterate how fast and fabulous this recipe was. It was the dessert half of last week's lettuce wraps. With the wraps, this recipe was also cut and pasted into the big green cookbook that night. And that was before I fawned over the leftovers the next two days at work. Seriously, make this for no other reason than to cut up the leftovers into chunks and use as a topping to Greek yogurt all week long. Your tongue will be very, very happy with you. Trust.
1 medium pineapple
1/2 c. dark brown sugar
1/2 c. orange juice
3 Tbsp. honey
For Toppings:
Dollops of Greek yogurt
Shredded Mint Leaves
Cashews, roasted and chopped
Make sure you get a ripe pineapple. Here is my usual selection method. The color on the outside does not matter. I know, crazy talk, but true. Instead, try plucking a few leaves from the center of the leaves shooting out the top. Do they pluck out easily? Or do you really need to tug? You are looking for leaves that are easily plucked. Ta-da, you have a ripe pineapple. Now, pay for it (no stealing!), bring it home, and chop it up into 8 or so spears. Toss the tough core.
Preheat oven to 450 degrees. On rimmed baking sheet, line with parchment paper. You are going to have a burnt sugar mess, so line it well. In medium bowl, whisk together sugar, OJ and honey until sugar is dissolved. Toss in pineapple spears and turn to coat. Let marinade 10-20 minutes, tossing occasionally.
Remove pineapple from marinade and lay cut side down on prepared baking sheet. Don't throw out extra marinade! Instead, brush it over the pineapple, coating it well. Pop in the oven and roast 15 minutes. Remove and flip pineapple spears, brushing with extra marinade well. Return to oven and let roast an additional 10-15 minutes more, until pineapple is tender and looks delicious and caramelized. Drizzle whatever marinade you have left over on top. Let cool. Plate with yogurt, mint and cashews. Enjoy and save your leftovers for your tomorrow's morning Greek yogurt!
Tuesday, February 21, 2012
CL's Classic Fudge Brownies
I wasn't planning on posting today. I was actually planning to bust this out tomorrow. But then I realized that only a bad person posts about fudgy, chocolaty, dense, gooey goodness on Ash Wednesday. Cool people, on the other hand, blog about it on Fat Tuesday, aka Mardi Gras, aka this day used to mean a chocolate waterfall and bananas fosters in the dining hall and I really miss that. As it is, my Mardi Gras celebration is looking like a sandwich after some exercising after work. Don't say I don't lead an exciting life. Maybe I'll steal some of the chocolate I bought Ben for Valentine's day that he left here... just don't tell him.
The next morning, once they had cooled, what was left of the brownies cut a little better and maintained their shape, somewhat. The chunks of dark chocolate were heavenly, extremely hot just out of the oven, but creamy once cooled. This is where you need to break out some good chocolate, because it is worth it. Especially if you're giving up chocolate for lent. Which, in case you forgot, begins tomorrow.
However, despite all my chocolate haze induced praises, I'm not quite sure if they are big green cookbook worthy. They crumbled a lot, a lot. Although, the original recipe called for a metal 9x9 pan, which I don't own, so I went with glass and increased the time and temperature, which may have contributed to the crumbliness. Also, the recipe called for walnuts. I am a firm believe in the mantra that nuts do not belong in brownies, so I omitted them and you can judge me if you must. And finally, CL did it's clever little trick to make these brownies healthy. They call for 20, TWENTY, servings out of a 9x9 pan. It's like when Pepsi gives you a bottle with 2.5 servings in it. You know you're drinking the whole thing, don't lie to me. Just give it to me straight. Don't expect to get 20 servings out of these, or rather, don't expect to eat only 1 of their servings. But then remember that today is Fat Tuesday, and that Fat is in the name, and demolishing a pan of brownies is basically to be expected...
CL's Classic Fudge Brownies
Winner in the January 2012 issue
3/4 c. all-purpose flour
1 c. granulated sugar
1/2 c. brown sugar
3/4 c. unsweetened cocoa
1/2 tsp. baking powder
1/4 tsp. salt
6 oz bittersweet chocolate, divided
1/3 c. 1% milk
6 Tbsp. butter, melted
1 tsp. vanillas extract
2 large eggs, beaten
Preheat oven to 350°F. Spray 9x9 metal baking pan with cooking spray.
In large bowl, mix flour, sugars, cocoa, baking powder and salt. Chop 3 oz. of chocolate into small chunks. Toss in flour mixture. Set aside. Combine remaining 3 oz of chopped chocolate and milk in small microwave bowl. Microwave in small bursts of 30 seconds, stirring in between, until chocolate is melted and smooth. Add melted butter, vanilla and beaten eggs. Beat well. Pour into flour mixture and stir until just combined.
Pour batter into prepared pan. Put into 350°F oven and bake 25-30 minutes. Brownies are done when a toothpick inserted in the middle comes out with only a few crumbs clinging. Cool (if you can wait!) in the pan. Cut into 20 pieces (ha!). Eat at least 12. Enjoy!
Sunday, January 29, 2012
Gingersnaps
Ok, I might be scraping the bottom of the barrel here a little bit. But the important thing to remember here is that not only am I keeping my promise that I will write at least once a week, but also that gingersnaps are fantastic. And that life has been very busy. So today you are getting gingersnaps. Not that you could really mind a warm gingersnap straight out of the oven with a cold glass of milk.
Two weeks ago I moved again for the fourth time in one and an half years. Important boxes have still yet to be unpacked. After one week at work, I was whisked off to the warm city of Houston for a week of training. Maybe learned a couple of things and ate a whole lot of crap. All I want to eat for the next week is egg drop soup.
But out of love for you, I am going to get back on that saddle. And hopefully fill my cooking backlog back up. So I promise to dive back into my magazines today. I've gotta put my new kitchen to the test.
Gingersnaps
From mom's gray tin recipe box
Recipe to come soon! It's at home and I still am not...
Wednesday, January 11, 2012
Rich Vanilla Frozen Yogurt
Ben is a rock star gift giver. Now I know that Christmas and birthdays aren't all about gifts and that there shouldn't be a contest between who gives the best gift, yada, yada, yada. Whatever. The point is, the last few years the boy has beaten me on every occasion, managing to give the best gift I never knew I always wanted. It's incredibly frustrating.
Needless to say, we wasted very little time getting the ice cream maker frozen and frozen yogurt into our tummies. We picked this recipe out because, surprise of all surprises, Ben had all the ingredients on hand. Yes, there are only three ingredients, but this is a boy apartment we are talking about here. The sugar dissolves into the yogurt quickly and makes a pre-ice cream batter that taste delicious. After about 20 minutes of turning, this soft, sweet fro-yo stuff comes out and it's truly delicious. After freezing a few more hours in the freezer, it firmed up quite a bit, the sweetness mellowed out and we could actually scoop balls out of it. We ate a few servings of it topped with strawberry rhubarb jam, but mostly we ate it standing up in his kitchen right out of the container. 2012 is going to be a good, ice cream-filled year...
I'm moving, again!! I know, I haven't even unpacked all my boxes from the last move. Ah well, there's not point now! My Crock Pot and KitchenAid are already in Illinois, which makes me sad, because I just discovered this. So get ready for an onslaught once I finally get to Rockford!
P.S. Dear, please do not hate me for posting the picture of you. I think it's cute and charming. Thank you.
Rich Vanilla Frozen Yogurt
Adapted from David Lebovitz The Perfect Scoop, another amazing Christmas gift
4 c. plain Greek yogurt
1 c. granulated sugar
1 1/2 tsp. vanilla extract
Stir all ingredients together well, until sugar dissolves completely (this will not take terribly long at all). Doing this in a bowl with a pour spout is a very good idea. Chill in fridge 30-60 minutes, depending on your patience.
Plug in ice cream maker and get it running. Pour in yogurt mixture. It will be thick and it will likely be a little messy. Freeze according to your maker's instructions. Enjoy immediately if you like it soft, or freeze in air tight container for a few hours, once again depending on your patience!
Saturday, December 31, 2011
Dark Chocolate Tart
I was going to keep giving you cookie recipes from my cookie baking bonanza, until I was hit with an epiphany Wednesday at work around lunch time. It went something like this: "oh my god. The chocolate tart". And then I proceeded to feel guilty the rest of the day because, well, the chocolate tart. I forgot to write and tell you about the chocolate tart.
It was going to be my birthday cake when I was home in November, but got bumped back to Thanksgiving when I found an incredibly recipe for cinnamon roll cheese cake, and begged my mom to make that for me instead. See, I wanted to make the chocolate tart myself, bask in the glory of it's deliciousness, take all the credit for it and then post it on here. It was that last part that I sort of, kinda, just until this Wednesday, forgot. And I am so sorry, because this tart is a chocolate orgy in your mouth, in the absolute best way possible.
Whatever rationalization you need to tell yourself to get this tart into your oven, onto a plate and into your mouth, I promise, it'll be worth it. And then just resolve tonight that you'll be better tomorrow...
Happy New Year!!!
The smitten kitchen strikes again!
As a head's up, my pictures do not do this tart justice. It is pretty and even if your's doesn't come out picture perfect, frankly once people have tasted it, they won't give a crap. We did gussie ours up with some fresh cranberries and whip creme, but of course, there are no pictures of that...
Also, our was a hodgepdoge of chocolate. There were a few ounces of German chocolate thrown in there, some Ghirardelli dark chocolate chips and a few ounces of Baker's unsweetened. And it all came together beautiful. For the crumb crust, I had to use more butter and next time I won't pulverize the gingersnaps (homemade by my momma, of course) as finely. Maybe that'll help with the crumbliness.
1 2/3 c. gingersnap cookie crumbs
l/4 c. melted butter (I had to use more)
12 oz. bittersweet chocolate, chopped
1 c. heavy whipping cream
2 large egg yolks (save the whites for meringues! yum)
1 large egg
1/4 c. granulated sugar
1 Tbsp. flour
1/8 tsp. fine ground black pepper
Large pinch of kosher salt
1/2 tsp. cinnamon
Preheat oven to 325°F. Chop and whir gingersnap cookies in food processor until you have enough. Add melted butter and pulse a few times until mixture comes together. Press into 9-inch tart pan with removable bottom. Firmly press onto bottom and up sides of pan, using a coffee cup or straight-walled measuring cup to help form the sides. Place on rimmed baking sheet.
In medium sauce pan over low heat, combine chocolate and cream. Whisk until chocolate has melted and mixture is smooth, remove from heat. In separate bowl, whisk remaining ingredients thoroughly. In small batches, gradually mix in chocolate and cream mixture into egg mixture, beating well after each addition so chocolate filling is well blended and smooth. Pour filling (trying not to steal too many taste tries...) into prepared crust.
Bake tart in 325 degree oven until filling puffs slight at the edges and the center is softly set, about 30-32 minutes. Remove from oven and let cool on wire rack. After 20 minutes, remove tart pan gently, as the crust will be very crumbly. Allow tart to completely cool. Slice and enjoy!
Saturday, December 10, 2011
Grape Apple Pie
Or, as we more affectionately referred to it all Thanksgiving day long, Grapple Pie.
My Thanksgiving adventures are long over due to show up here. I have sneakily been avoiding them since I got back to Terre Haute by giving you recipes for things like enchiladas and crackers made with half and half. In my defense, who really wants a stuffing recipe that requires turkey giblets to be made properly in December? Turkey season, whether we like it or not, has passed and Christmas is gloriously upon us. Stuffing recipes, along with pumpkin pie and candied yam recipes, are going to have to be shelved for awhile.
Grape Apple ("Grapple") Pie
From Bon Appetit's 2011 November edition
This pie takes a little bit of time. Most of it is not active time, but there is parbaking, cooling and chilling. We were running out of time and cut some corners, but even so I stayed up till 1 am finishing off the pie. So start in the morning and don't do what we did!
3 c. all purpose flour
1 Tbsp. sugar
1 1/2 tsp. kosher salt
1 c. (2 sticks) unsalted butter, chilled, cut into small cubes
1/2 c. vegetable shortening (Crisco)
1/3 c. ice water
For Filling:
3 lbs. "tart, crisp" apples (Pink Lady, Crispin)
1 lb. black grapes
3/4 c. + 2 Tbsp. sugar
2 Tbsp. all purpose flour
For crust, combine flour, sugar and salt in a large mixing bowl or in the bowl of a food processor. Mix well. Add chilled butter and shortening and cut into flour mixture until mixture resembles coarse meal. If using a food processor, pulse until dough forms coarse meal. Slowly add ice water, continuing to pulse or cut dough until dough forms. If dry, add more ice water by teaspoons until dough forms, but don't let it get sticky. Divide dough into two equal balls, then flatten into disks. Bits of butter should be seen in the dough. Wrap disks in plastic and chill in refrigerator (NOT FREEZER--like I might have done...) for at least 1 hour and up to 2 days.
Once dough is chilled, remove from fridge and immediately roll out dough into a round large enough to fill a 9 inch pie pan. Transfer to pie pan and trim dough to edge of dish, with no dough left hanging over. Work quickly so dough does not warm up much. Place pie dish and dough into freezer and freeze till firm, roughly 10-15 minutes.
Meanwhile, add dough scraps to other ball. Roll out dough to form pie lid, about a 12 inch circle, again working quickly so dough remains cold. Slide onto a parchment paper covered baking sheet and return to fridge to chill.
To parbake the bottom crust, preheat oven to 375°. Line dough with parchment paper and fill with dried beans. Place in oven and bake 25-30 minutes, or until edge just start to turn golden. Remove parchment paper and beans. If bottom has puffed up, prick in a few places with a fork. Return to oven and continue to bake another 20-25 minutes, until crust is a deep golden brown. Transfer to wire rack and let cool to room temperature.
While crust is cooling, peel, core and thinly slice apples. Halve grapes and remove any seeds if present. Combine apple slices, grapes, sugar and flour in a large saucepan, mix well. Cook on stove over medium-low heat, stirring often for 30-40 minutes. Fruit should begin to look translucent and juices will thicken. Remove from heat and allow to come to room temperature. While cooling, decoratively cut top crust dough, reserving cutouts to place on top as more decoration. Return to fridge.
Once mixture has cooled, preheat oven to 375°. Pour filling into parbaked pie crust. Carefully transfer refrigerated top crust over filling. Cut off overhang and press crusts closed. Place reserved cutouts over top, pressing lightly to make sure cutouts stick. Place pie on rimmed baking sheet to catch any drips.
Bake pie at 375°, until juices are bubbling and crust is a pretty golden brown, 55-60 minutes. Transfer to wire rack to cool. Whew, enjoy!
Tuesday, October 18, 2011
Caramel Brownies
If there was a fugly award for brownies, these guys would win it hands down. The sad thing is, when I opened my September Cooking Light issue, these were by far the prettiest. A thick, fudgey brownie with an almost as thick gooey caramel layer and a sexy dark chocolate drizzle over top. These, obviously, are no where near that picture. These, in my own personal opinion, were butt ugly. However, somehow they managed to taste better than I even thought they would from looking at the pretty, touched up magazine picture. I'm not quite sure what happened, but surprisingly something good did result.
I say surprisingly because I didn't know how in the world these guys were going to come together while I was making them. There was about 2 minutes of pride in the beginning, followed by a few hours of uneasy worrying. Pride because all of a sudden I realized that I had just made my very own brownie mix and the world was all rosy colored and grand. And then uneasy worrying as everything went downhill from there.
You know when you get something from the menu at McDonald's and you never really expect it to look like the picture because past experience has taught you to know better? I guess I haven't learned that yet with my Cooking Light. This isn't the first time that I have felt betrayed by the magazine, but at least this time the end results were edible. It's almost enough to make you question whether or not they actually test run their recipes before printing them. But the must, right? They have to, right? Otherwise how would they get the pretty pictures? Like the one that looks absolutely nothing like the brownies I just made? It's really a mystery.
Anyways, here are my thoughts. The brownies took about 4 times longer to cook then they suggested. The caramel coating isn't as thick as it was supposed to be, but that's ok. I actually think it might have had too much butter in it (which I know is almost a cardinal sin to admit, but it just might be true) and not enough powder sugar. It sweated quite a bit and was greasy. The chips plus the evaporated milk made for a horrible chocolate drizzle over the top. It was runny and ended up being just a thin, runny chocolate layer across the top that never really hardened up. I could have made it thicker by adding more chocolate maybe, but I was tired and it was late. Next time, I'm just melting the chocolate alone. Which leads me to the last criticism. What was up with the evaporated milk? I hate wasting food and that is what it ended up being. I opened up a can and used only a few tablespoons out of it. There has to be a better way.
The brownie part was delicious. The homemade brownie mix may just have to be made again. It was the top half that I really struggled with. It needs a better caramel recipe and a not so complicated chocolate drizzle recipe. It's such a good idea with such an amazing brownie bottom, it's just not there yet. And since Cooking Light apparently can't be bothered with trying and testing and perfecting their own recipes, I guess I'll just have to do it for them... I'll keep you updated, the idea of salted caramel and fudgey brownie is just too yummy.
Caramel Brownies
Adapted, and soon to be more so, from Cooking Light's September 2011 issue
Brownies:
3/4 c. all-purpose flour
1 c. granulated sugar
3/4 c. unsweetened cocoa
1/2 c. brown sugar
1/2 tsp. baking powder
6 Tbsp. butter, melted
2 large eggs, room temperature
1 tsp. pure vanilla extract
Caramel Topping:
1/4 c. butter
1/4 c. brown sugar
1 1/2 Tbsp. evaporated milk
1/4 tsp. vanilla extract
2/3 c. powder sugar
1-2 Tbsp. semisweet chocolate chips, melted, for drizzling
Preheat oven to 350 degree F. Lightly grease a 9x9 glass pan.
Combine flour, sugar, cocoa, brown sugar and baking powder in large bowl and whisk until well blended. In smaller bowl, whisk together melted butter, eggs and vanilla. Add slowly to dry mixture and stir until just combined, without over mixing. Pour batter into prepared pan and move to preheated oven. Bake 45-50 minutes, or until a toothpick inserted in the center comes out with "moist crumbs clinging". Don't over bake! Place on wire rack to cool.
While brownies are cooling, prepare caramel. Melt butte in saucepan over medium heat. Whisk in brown sugar and evaporated milk. Remove from heat and stir in vanilla and powdered sugar. Continue to whisk until caramel is smooth. Pour over cooled brownies and spread evenly. Let cool until set, about 20 minutes.
Melt chocolate chips and stir until smooth. Using small spoon, drizzle chocolate in neat patterns over brownies. Let set, cut into squares and enjoy!
Subscribe to:
Posts (Atom)