I am pretty pumped about getting married. Yes because the whole forever and ever, love of my life, marrying my best friend deal and all. But if you were to ask Ben why I am so excited to get married, he'd probably be able to tell you the deep dark secret: I am most excited about getting married so that we can get a puppy and I can have a big kitchen.
Seriously, forget the pretty white dress, the flowers and unity candles (do you really need one of those??). What I am most excited for starts after the big deal. Ben, me, a house with a big kitchen and a puppy. Really, that's all I want, all I need.
So instead of getting excited about centerpieces or worrying that our venue won't allow us to have lit candles on the tables, I spend most of my evenings thinking of our life post-big-happy-day. Important things too, things like who's going to be the main dishwasher in the house? Will I ever be able to get over my trust issues and let Ben do a load of laundry on his own? Am I actually going to have to make real, balanced dinners every night? Really? No more bowls of cereal (me) or tall glasses of protein shakes (him)?


So, in order to put my mind somewhat at ease, the Chinese cooking has been on the uptake the last few months. There are several hard and fast reason why this is the case. To start with, anything stir-fired is by nature quick. Also, after a few shopping trips to invest in things like fish sauce and rice cooking wine, I usually have all the ingredients on hand. Plus, I can sneak whatever veggies I want in with the meat and ta-da! the meal has suddenly become a balanced meal. Veggie, grain, protein, the works. You know, if I could only learn to let go a little bit over my laundry-OCD-ness, I may be able to wrap my mind around the whole marriage/man/wife deal. Just maybe...
Most of our adventures lately have come for the pages of Quick and Easy Chinese, a cookbook that was part of a gift from my future mother-in-law, along with a gorgeous cast iron wok. True to the title, they are quick, easy and most importantly yummy. We usually alternate serving the various stir-fries over brown rice or quinoa, but I have it in my mind to try a different whole grain soon, as I did just pick up some farro. This little number came from Cooking Light's January 2013 issue. As is the theme here, it was quick, easy and yummy. It was not cut out from the big green cookbook though simply because it just wasn't unique enough. But it is still definitely a great contender for Thursday night dinner.

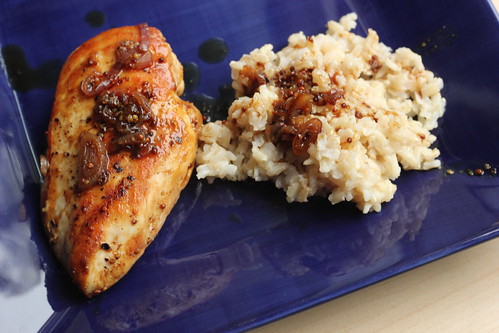
Lemongrass Chicken Stir-Fry
Adapted from CL Jan. 2013
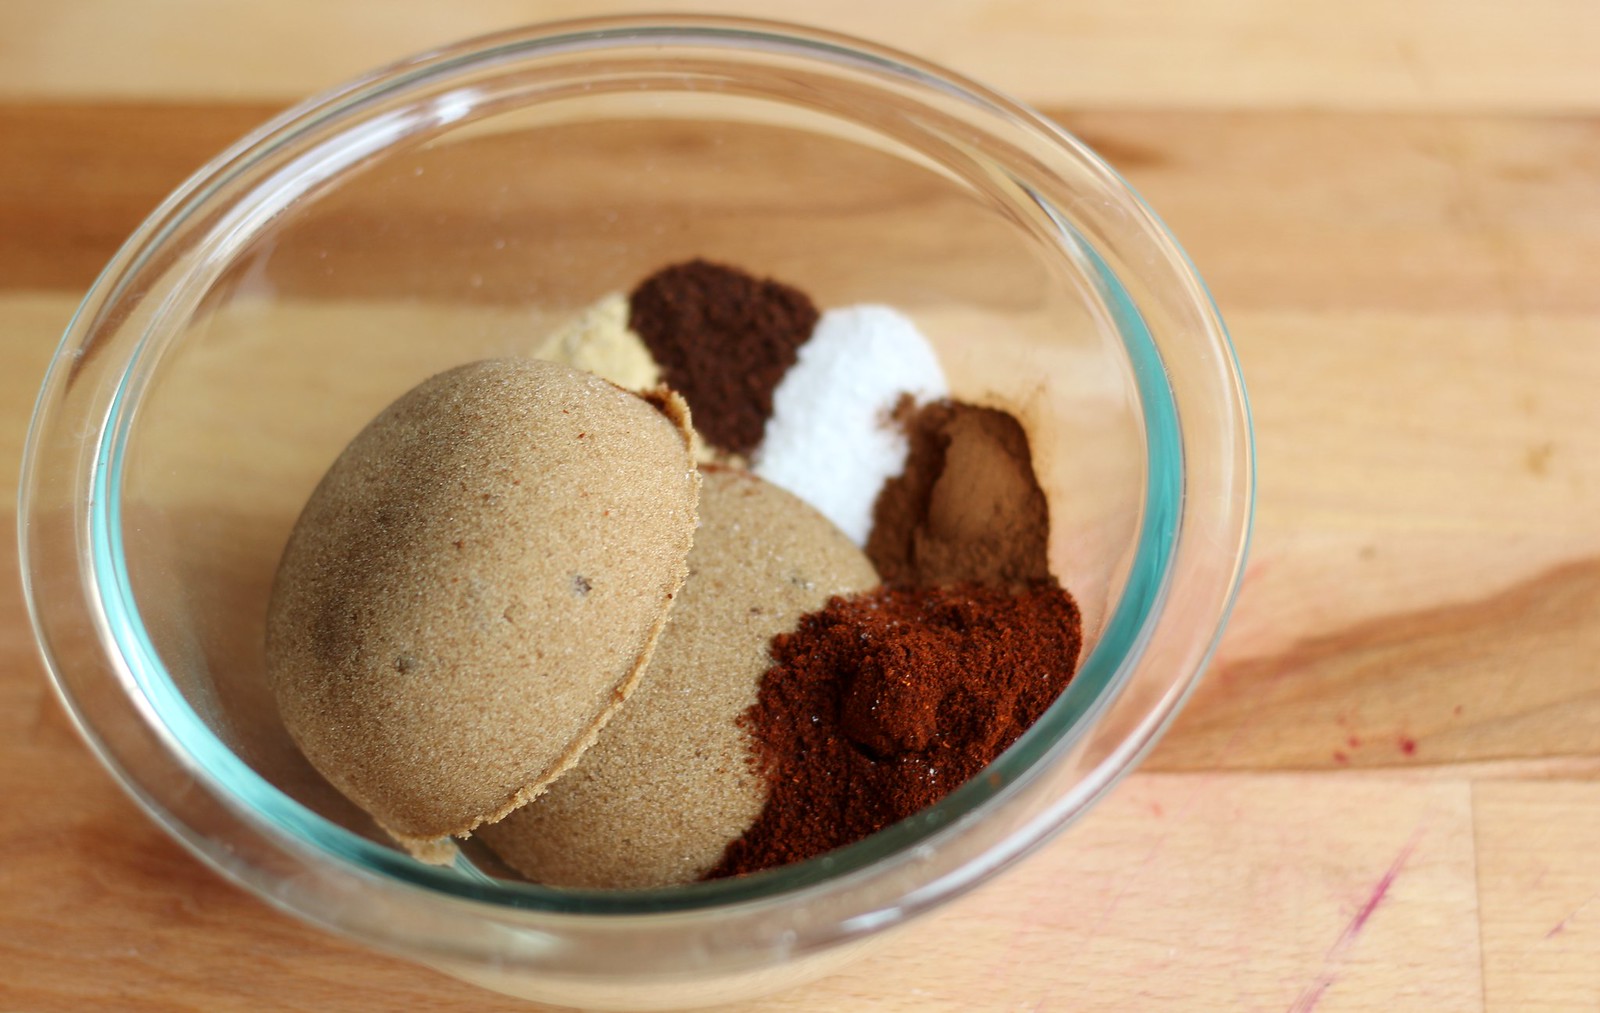
1 Tbsp. dark brown sugar
2 Tbsp. chicken stock
1 Tbsp. fish sauce
2 tsp. low-sodium soy sauce
1 tsp. sweet Asian chile sauce
2 Tbsp. vegetable oil (divided)
1 Tbsp. lemongrass, thinly sliced
2 garlic cloves, thinly sliced
1 red bell pepper, thinly sliced
1 c. (or big handful) fresh green beans
1 shallot, thinly sliced
1 lb boneless, skinless chicken thighs, sliced to bite sized pieces
1/3 c. unsalted cashews
1 Thai chile, thinly sliced
Heat large wok over high heat. While it is heating up, combine first 5 ingredients in small contained to make sauce.
Once wok is hot, swirl 1 tablespoon oil. Add lemon grass and garlic, stir frying for about 30 seconds. Remove from wok with a slotted spoon. Add remaining vegetables to wok, stir frying until bright and crisp, about 2 minutes. Remove from wok and add to lemongrass mixture.
Add remaining tablespoon of oil to pan, swirl to coat. Add chicken and spread into single layer. Cook, turning as needed, until browned on all sides, 3-4 minutes. Add cashews and chile to the chicken and continue to stir fry until chicken is cooked through. Add in vegetables and toss to mix. Pour sauce over top. Bring the sauce to a boil, tossing the chicken and vegetables to coat. Sauce will thicken (about 1 minute). Remove from heat and serve immediately over rice or quinoa.